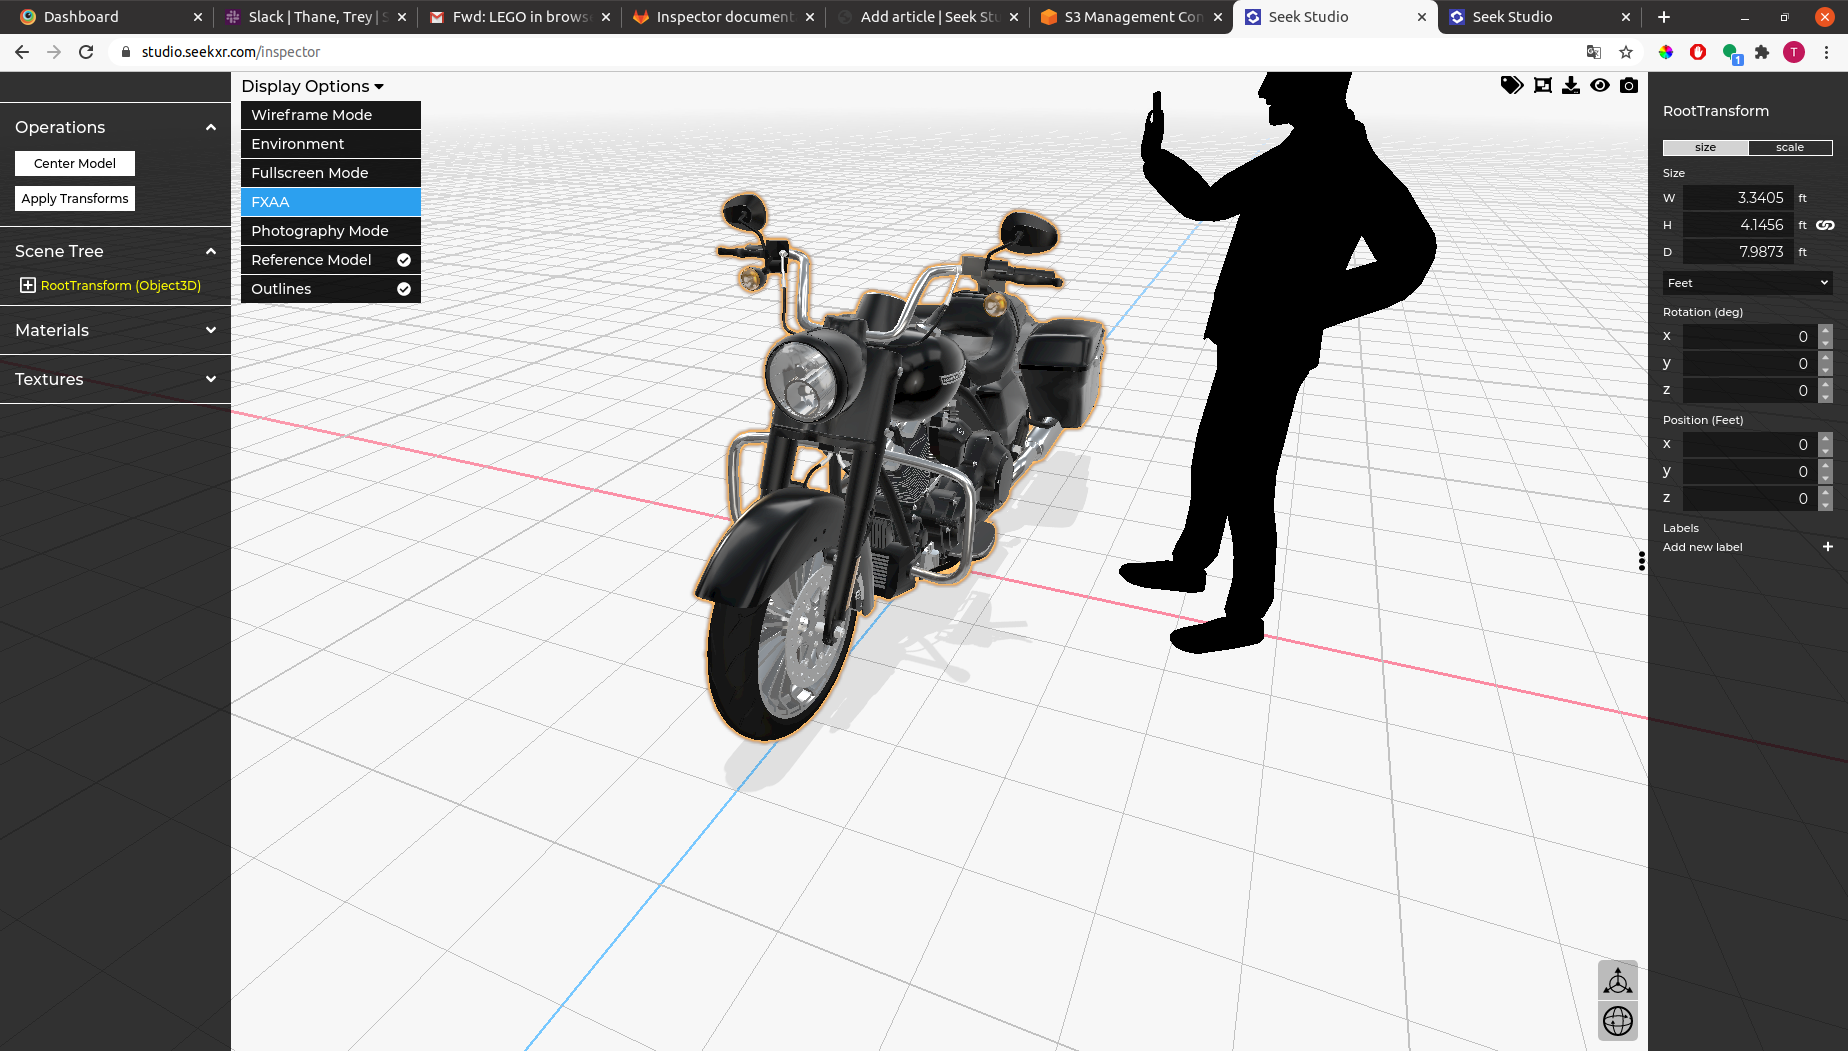
Display Options
You can find the display options dropdown at the top of the inspector next to the left sidebar. Click on the words 'display options' to open the dropdown. In this dropdown you can toggle different features according to your needs.
Wireframe mode
Turn on wireframe mode to see the outlines of all the polygons that make up your model. Exporting while in wireframe mode will export the model as it was before turning on wireframe mode.

Environment
Turning on the environment will change the background of the scene to the environment map acting on the model. The default environment map looks like this:

Fullscreen mode
If the inspector does not already take up the whole screen (like in the draft edit page for example) turn on fullscreen mode to float the inspector over the entire width and height of the host window.
FXAA
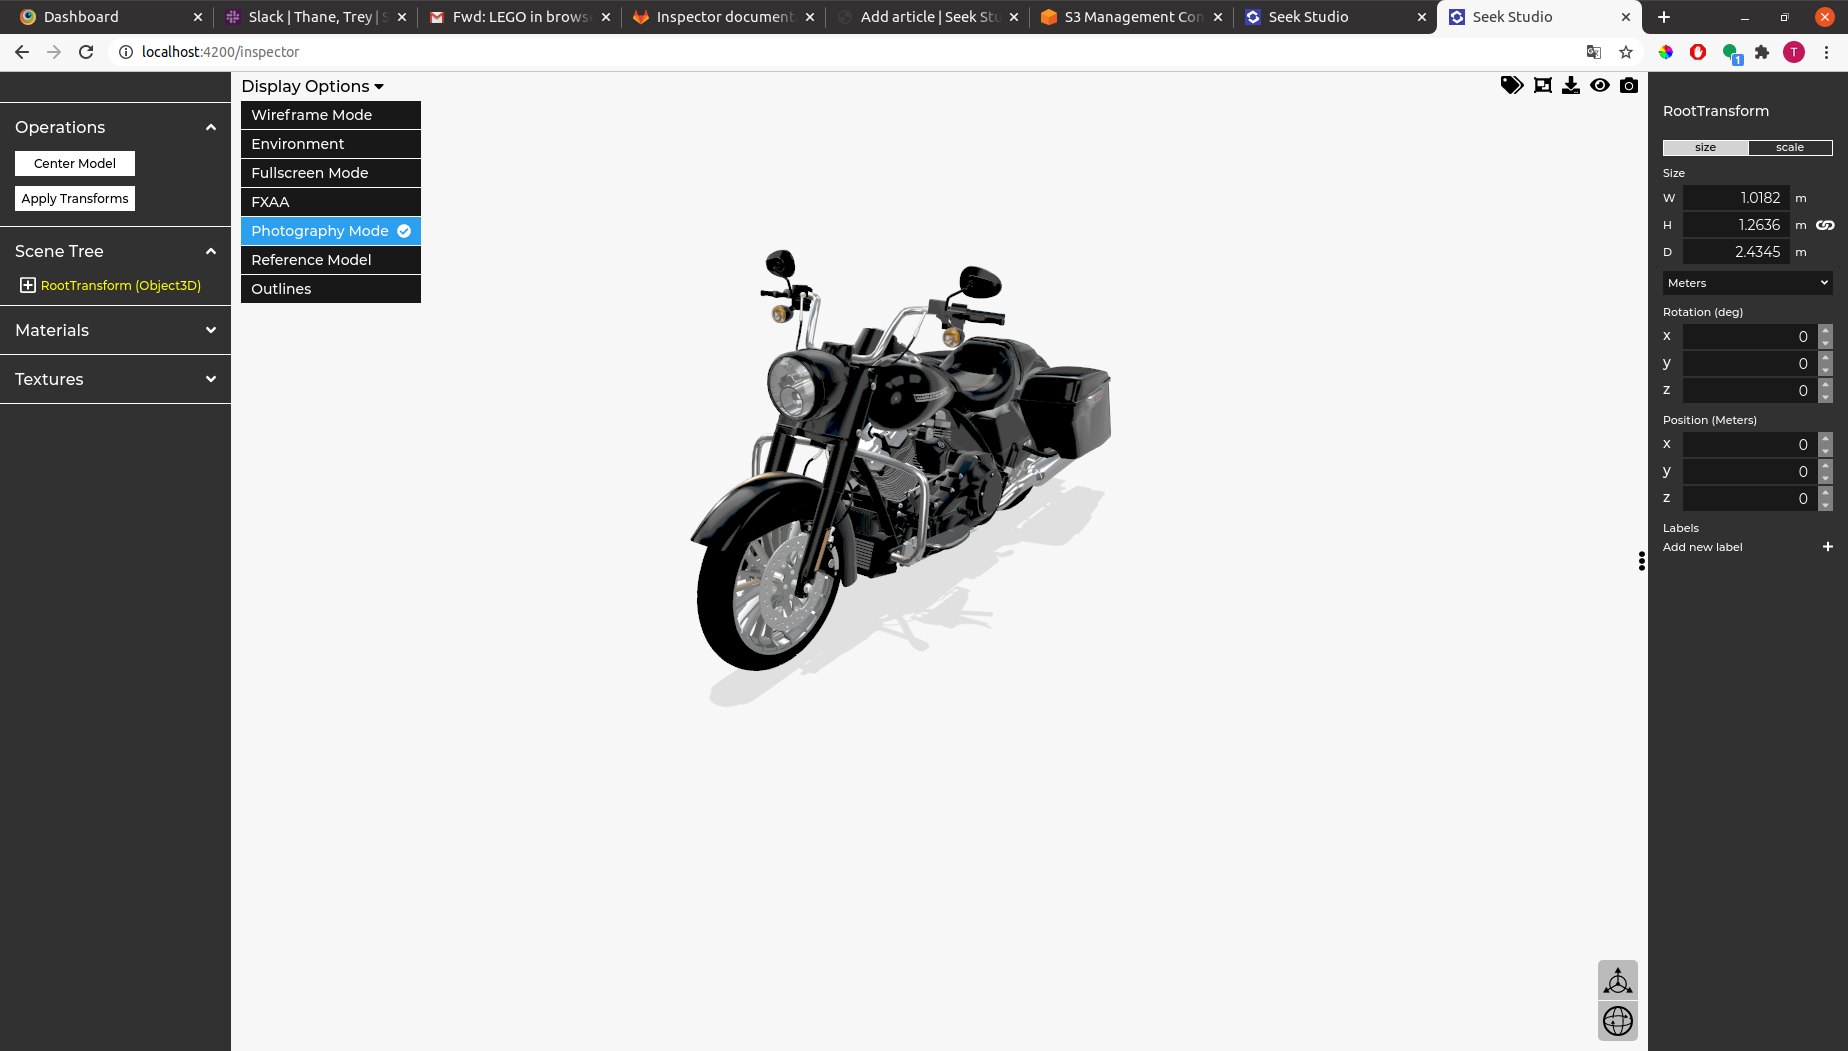
FXAA stands for fast approximate anti-aliasing. Essentially anti-aliasing helps to smooth out jagged edges. We use FXAA by default because it's light on the CPU. Other stronger methods of anti-aliasing are available but can stall or even freeze the inspector on bottom-of-the-line devices. FXAA treats jagged diagonal lines by fading out some of the pixels. Try turning off FXAA to see the difference. If you prefer a crisper but more jagged environment keep FXAA turned off. Rest assured that while the model may appear jagged in the inspector it will look smooth in all supported viewers including our own 3D model viewer. You can turn on photography mode to preview the model as it would appear in most viewers.

Photography mode
In photography mode SSAA (super sample anti-aliasing) is used to provide a much smoother rendering of your model. While in photography mode you can click the camera icon in the top right to get a snapshot of your model (the screenshot excludes all of the UI so don't worry about the sidebars cluttering up the snapshot). While VR photography is not officially supported you can get photorealistic pictures of your models in this way. Turning on photography mode hides the reference model and all outlines.

The reference model
The black silhouette of a man holding a phone is purely for reference and can be hidden by clicking on 'Reference Model' in the display options dropdown. If visible, the reference model will stay a distance away from your model. This can be distracting when the model is animated as the reference model will update every time the bounding box of the model changes. It is recommended to hide the reference model when working with animated models.
Outlines
In this case outlines refers to the orange and purple lines that are used to highlight meshes, materials, and textures. The orange outline highlights the selected mesh/material/texture. As you hover over different parts of the model a purple outline will show you the shape of each mesh. The purple outline is helpful to know where to click to select a specific mesh. As with other display options outlines can be turned off.
Persistent settings
There are a few settings in the inspector that persist across sessions (the next time you load the inspector the same settings will apply) including units and two display options: the reference model and outlines. If you turn off outlines for example they will stay off until you re-enable them. Other display settings will reset every time you load the inspector.